I’ve been looking for something lovely for our bare walls for some time (it’s taken me 4 years to get to this stage). I am super picky and, in my old age, super indecisive (having made so many mistakes previously). I love pinks and turquoises – inspired by mine and Liam’s favourite colour since our childhood (although, not sure we would still say that now) and, like us, those colours they go really well with each other.
Finding Inspiration – Rifle Paper Co.
My initial inspiration came from Rebecca, of rosesandrolltops.co.uk, who introduced me to the amazing Rifle Paper Co. prints! Wow. These prints are so me and I love the pastel shades of pinks, greens and greys. They also offered amazing value if you buy their calendars which include 12 prints all for about £20-£25 on gorgeous matt thick paper. They aren’t as easy to come by in the UK, but papermash.co.uk was my main supplier. You can also get the odd bargain from amazon.co.uk. The problem is, they don’t tend to repeat the prints, so the calendars are almost like limited editions never to be seen again.
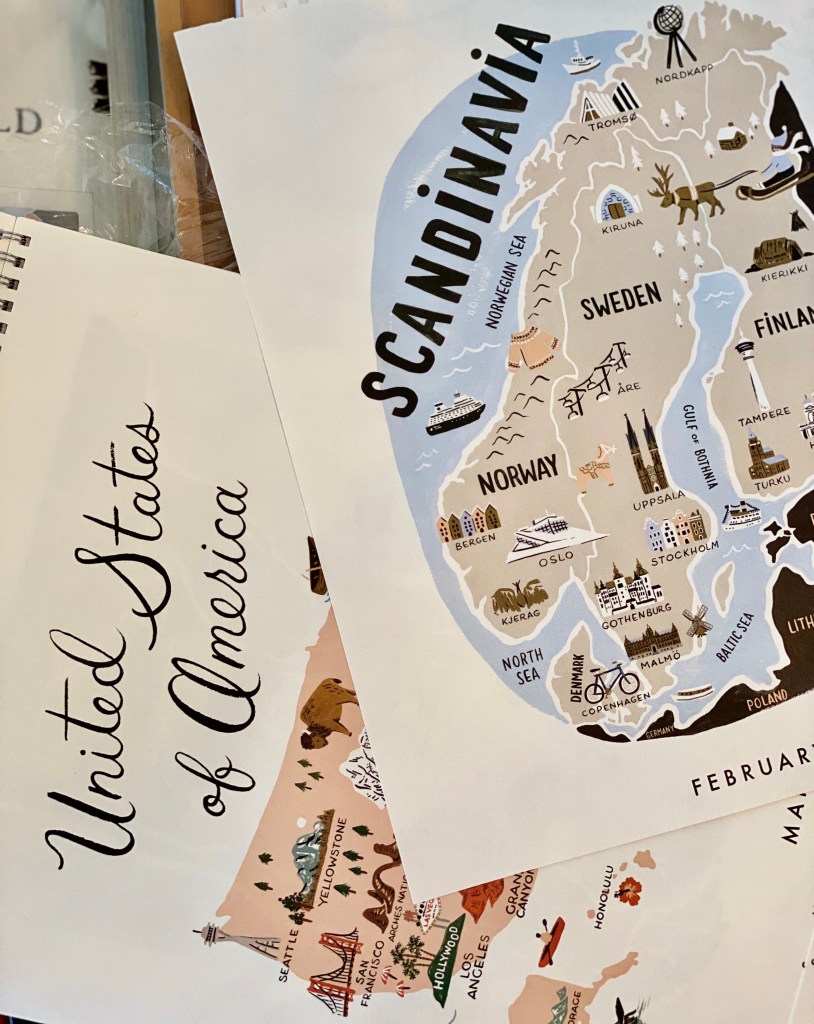
This was enough to make me panic buy, over the course of a couple of years, three calendars! Putting them on my Christmas list, as an affordable present from my mum or in-laws. As I collected them, I made sure to hide them away from my girls, and for some time had forgotten where I had actually stored them!
Buying some frames
When I finally found them, I measured them to figure out which size frames to put them in. The actual pictures are all slightly different widths and heights (between around 23-26cm width and 28-30cm in height). These are quite non-standard shapes for frames, I later found out! I had always intended to put them in different sized frames (so it didn’t look too contrived). So I spent AGES looking at different sized frames. And you know what? Most of the frames out there come in standard sizes, unless you want to pay for a frame maker to make them to a bespoke size. I didn’t have the cash for that, so kept on looking and thinking.
I’d also decided that I wanted to put a crisp white mount around them for aesthetic reasons but and figured that this would help with making them fit in different sized frames.
The only thing left to decided on was the colour of the frames. I’d seen them in white frames, and thought that it just didn’t quite look right and, more importantly, white wouldn’t go with the rest of the room.
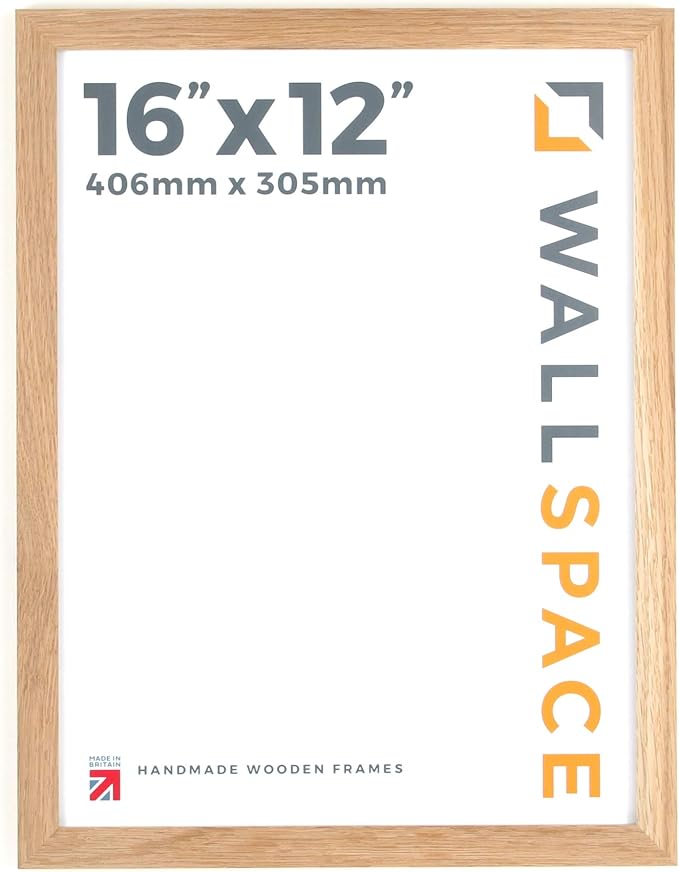
I love Desenio frames. They seem to be made with good quality wood and are super slim and stylish. HOWEVER! This is lock-down 2020 and Desenio seemed to have withdrawn their offers (usually can get at least 20% off in normal times), and last time I ordered from them it took at least 2 weeks for them to arrive. So, I turned to trusty Amazon and found some affordable solid oak frames from a UK seller (and maker) Wall Space. The reviews seemed positive and someone mentioned that the wood came bare, ready to have a stain or oil applied. I as a bit hesitant about oak and dithered a long time, as I like a pale oak colour (and not orange!). So, decided to take the plunge and bought two of each of these sizes: 16×12, 12×12 and 14×11 inches (6 frames in total).
Waxing the Frames
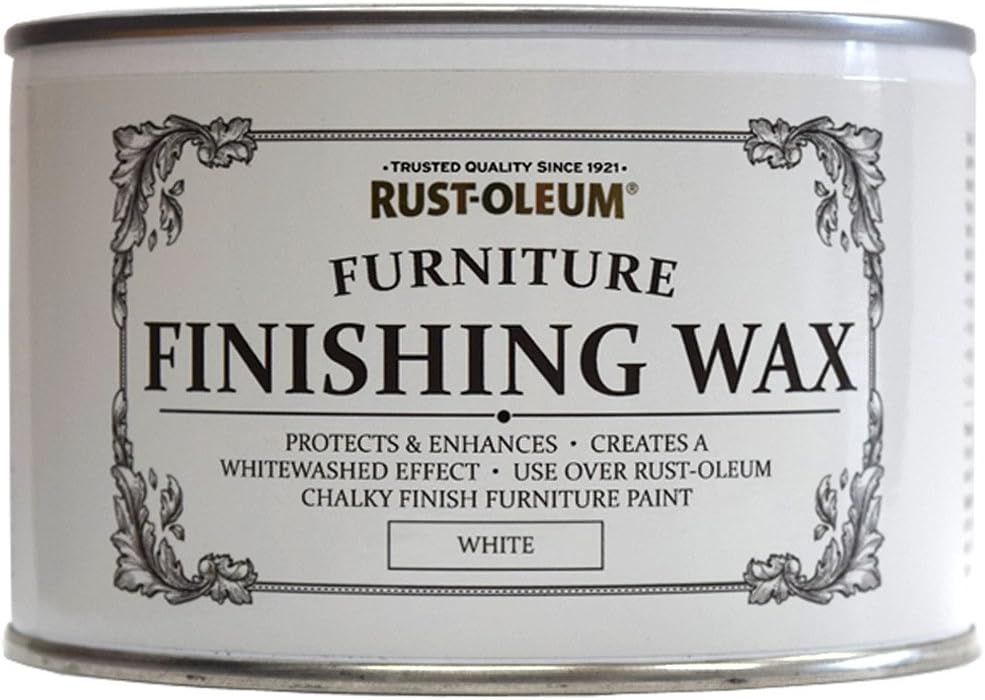
The frames arrived quickly and they were, as I thought they would be, a little darker than I liked. Luckily, I had a tiny amount of some Rusto-leum White Finishing Wax left, so set about lightening them up. I had to give them two coats in total to get the colour that was right. You brush the stuff on, leave it and then rub it with some lint free cloth (or in my case, an old tea towel). They now look amazing – it reminded me of a finish that Neptune gives to some of its whitewashed furniture.
Unfortunately, when I was taking the glass out of one of the frames, I managed to break one (it got caught on the metal catches). I wrote to Wall Space, and they were a bit reluctant to send the glass in the post for safety reasons, but I managed to persuade them to wedge it between two boards and I received it next day (very good service). Be careful with the glass, as I did manage to slice my figure just handling it. Best to use a cloth to avoid this.
Picture Mounts
So the mounts were just as problematic. I looked for specific sizes and, just like the frames, they just seemed to come in standard sizes. If you wanted to bespoke mounts then it would have worked out more expensive than the frames. So I needed to be creative again. The aperture (the middle bit) needed to just cover the edges picture (and not overlap the actual picture) and if the outside was too big to fit in the frame, then I thought I could just cut this to size (after all, nobody would see this as it would be hidden by the frame). So, to save money, I could buy a pack of 10 mounts – all the same size – and cut them to fit into my frames. And, yes, I turned to Amazon for this too. I got 10 16×12 for 12×10 inch picture white picture mounts from the Frame Company (seller is called “paintings frames”). They cost £12.95 + £3.95 for delivery. This was actually quite cheap to some of the others. The mounts are a lovely thick card too.
To cut them, I placed the board of the frame I wanted to insert them into in a central position and then drew around it in pencil. At first, I tried to cut them with a blunt(!) razor blade and a ruler, which was awful. So in the end, I resorted to using scissors. Yes, it did give a slightly rough edge, but it didn’t matter because it would be hidden by the frame. I found that if I cut just inside the the line (not on the actual line) it helped the mount slip into the frame much better (being slightly smaller). One thing to note is that the mount aperture was a little too large in length for the 12×12 frames, so I just used the sides. I think I just about got away with it, but it might not be to everyone’s taste.

Hanging The Frames
One thing to note about these frames is that they they don’t come with a hook or anything to mount them on (except the 12×12 ones). They do provide some fixings but I did not get along with these at all. In the end, I decided I would get some black sawtooth fixing with mini screws, and also treated myself to a cheap cordless rotary tool which I could use to drill tiny pilot holes (thinking a big drill would be too ham-fisted). I also wanted to use it for a garden project and for intricate sanding, and plus I love a gadget. 🙂
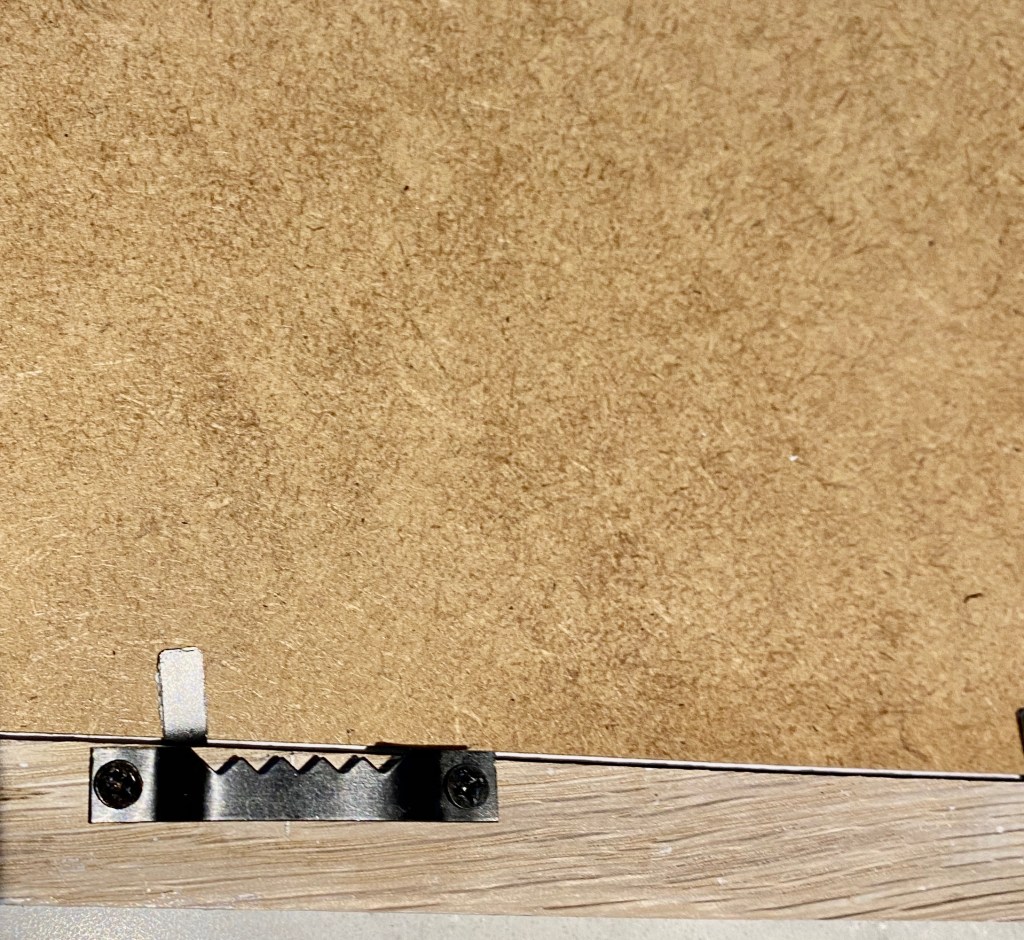
So I order these (Amazon again *rolls eyes*) and they came the next day. They worked perfectly!
Mixing them up a bit
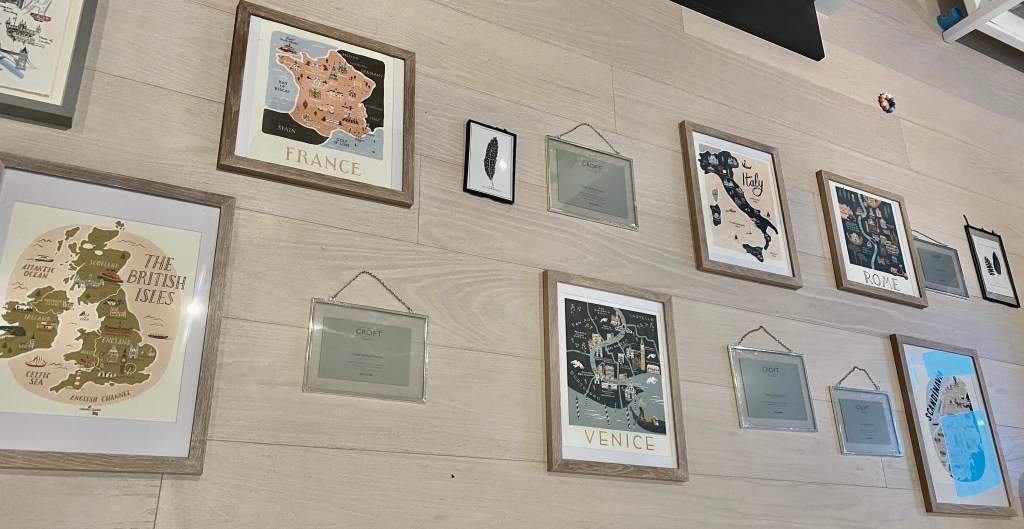
So, I didn’t just want to have a wall full of the Rifle Paper Co. prints. That would be lovely, but I wanted to make it a little more personal and I also had a few things to use up! Combining them with other types of prints, frames and photographs would mean that I would get that ‘eclectic’ look I was after.
I’d managed to pick up some silver-plated hanging clip frame (the vintage style) from John Lewis at a bargain 75% off, without really knowing what I was going to do with them. I had forgotten about these too (having stored them at the top of a cupboard (again, away from the girls), and so was delighted to find them when we were doing some decorating. These dainty clip frames inspired me to use them for holiday photos of us, near or in, the places of some of the Rifle Paper Co. prints, to make them personal to us.
I then also had some old Alice Tate prints of New York and London that we bought from John Lewis YEARS ago, and just couldn’t decide what to do with them in our new house (you know, when you buy something for your old house but they don’t quite work in your new one). These prints came with a really nice light grey frame.
So I decided that I would throw them all together, really fast the last minute, and was really chuffed that I was going to finally put some of my ‘finds’ to good use.
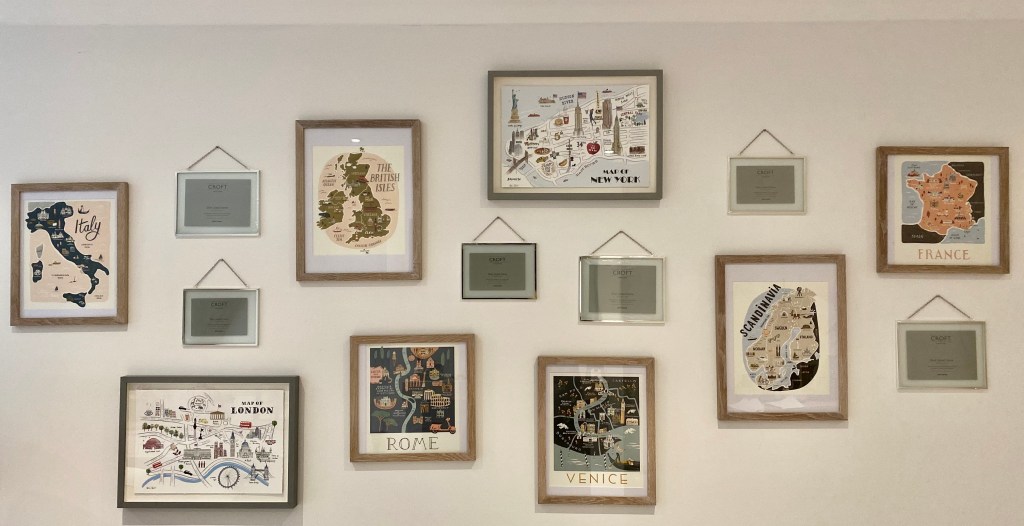
Arranging them on the wall
I wasn’t really planning on spending a lot of time planning out exactly where they would go on the wall. But as I laid them frames out on the floor, I found that it was going to be harder than I initially thought. I found that laying them out on the floor wasn’t giving me a true visual of what they’d look like on the wall. I wanted them in a jumbled look, but I wanted them to obviously look good too. It was difficult to tell how much wall space (and how high) you could hang them when planning on the floor. In the picture below, you can still see me deliberating on using a black clip frame. *so indecisive*. 🤷♀️
So I turned to trust Pinterest for inspiration. I saw a lot of cut out pieces of paper for planning, which I thought just looked like faff! I also couldn’t find any layouts which matched what I was trying to achieve. I did notice that a lot the gallery walls went right up to the ceiling and quite low down. So, in the end, I did decide to do the paper planning thing! I am so glad I did. I used a roll of the IKEA kids paper and just drew around my frames and cut them out. I then stuck them to the wall with Blu Tack until they ‘looked right’.
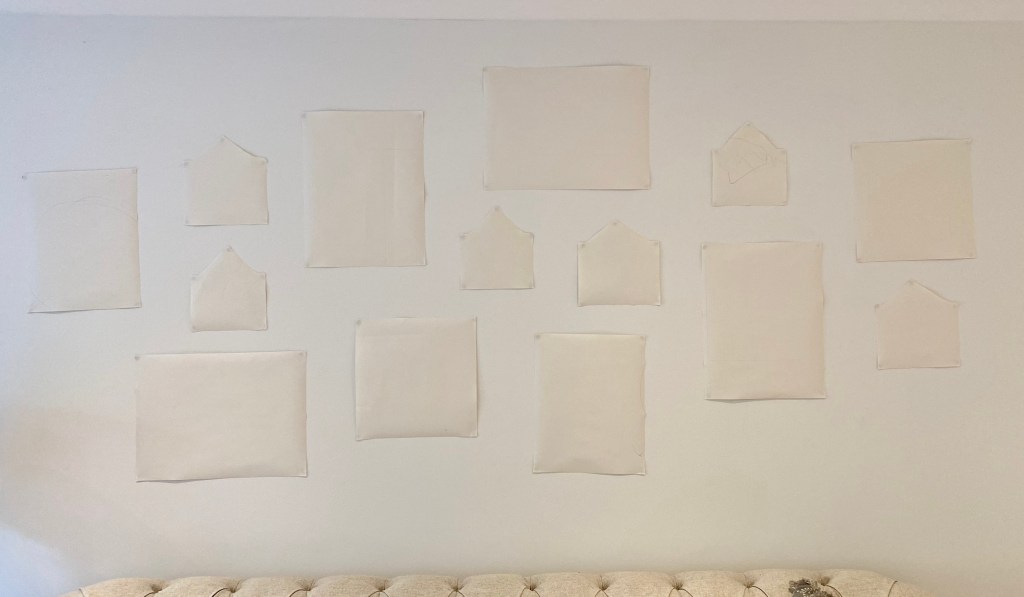
Once they were up, I was able to measure where the picture hangers were and draw my drill holes. The templates made it super simple to do this. So, although it was a bit a faff to do, it did mean that the pictures would pretty much end up exactly where I wanted them. I didn’t use a spirit level once. This is one of the perks of having a ‘jumbled’ look too.
For the pictures frames, I drilled the holes with a standard drill and put some wall plugs in. I put the screws in so they were barely sticking out (just enough for the hanger) so they would sit as close to the wall as possible.
For the clip frames I used some pretty brass nails which I hammered in.
The nearly finished result
Still not finished, but I am really pleased with them. I’ll upload the final version (with my camera) when I have managed to choose some pictures for the clip frames!